Service Requests
There are three types of Service Requests:
- Revenue - The Install is closed, and there is no warranty or the warranty has expired. There should be a charge to the customer for performing the service.
- Go Back - The Install is not closed and requires additional work to be completed. In practice, there should be no charge for this type of service unless the customer orders additional Products or Services during the appointment.
- Warranty - The Install is closed but still under warranty. In practice, there should be no charge for this type of service unless the customer orders additional Products or Services during the appointment.
Create a Revenue Service Request
1. Navigate to the Installs module, then click the Install record the Service Request is for.
2. In the Install record, click Create Service Request in the upper-right corner.
3. A Service Request is then created, and you'll be prompted to choose one of the following options:
- Cancel Request: Cancels the Service Request.
- Skip Rev Service Call – Add Sale: Immediately creates the sale when no on-site visit is needed and the product or service is already known.
- Set Revenue Service: Schedules a Service Call Meeting.
Cancel Request:
1. Enter the reason for cancellation, then click Save.
Skip Rev Service Call - Add Sale:
1. Select the base service fee and desired product, then click Save.
Set Revenue Service:
1. Select the Revenue Service Product, enter the Service Meeting details, and click Save.
2. Click Confirm and Issue.
3. Review the Service Meeting details, and if everything is correct, click Save. After saving, the meeting host will be notified of when and where to meet the homeowner.
Create a Go Back Service Request
1. Navigate to the Installs module, then click the Install record the Service Request is for.
2. In the Install record, click Request Go Back.
3. Fill in the Request Timeframe and Service description, then click Save.
4. An Install Service Request is then created, and you'll be prompted to choose one of the following options:
- Cancel Request: Cancels the Service Request.
- Set Install Service: Schedules a Service Call Meeting.
- Product Order Required: If a product is needed before scheduling the Service Call, this option allows you to place the product order first.
Cancel Request:
1. Enter the reason for cancellation, then click Save.
Set Install Service:
1. Enter the Service Meeting Details, then click Save.
2. Click Confirm and Issue.
3. Review the Service Meeting details, and if everything is correct, click Save. After saving, the meeting host will be notified of when and where to meet the homeowner.
Product Order Required:
1. Enter the product to be ordered, add any product order notes, and confirm the Install Name, then click Save.
2. Once the product has been received, click the Product Go-Ahead Received transition button.
3. In the Product Go-Ahead Received pop-up window, click Save.
4. Click the Set Install Service transition.
5. Enter the Service Meeting Details, then click Save.
6. Click Confirm and Issue.
7. Review the Service Meeting details, and if everything is correct, click Save. After saving, the meeting host will be notified of when and where to meet the homeowner.
Create a Warranty Service Request
1. Navigate to the Installs module, then click the Install record the Service Request is for.
2. Click the Request Warranty Service transition.
3. Enter the request timeframe, service description, then click Save.
4. Click Service Requests in the Related List, and then open the Service Request record you wish to schedule.
5. From here, you'll be prompted to choose one of the following options:
- Cancel Request: Cancels the Service Request.
- Set Install Service: Schedules a Service Call Meeting.
- Update to Revenue Service: Use if the service is not covered under warranty and requires billing.
- Product Order Required: If a product is needed before scheduling the Service Call, this option allows you to place the product order first.
Cancel Request:
1. Enter the reason for cancellation, then click Save.
Set Install Service:
1. Enter the Service Meeting Details, then click Save.
2. Click Confirm and Issue.
3. Review the Service Meeting details, and if everything is correct, click Save. After saving, the meeting host will be notified of when and where to meet the homeowner.
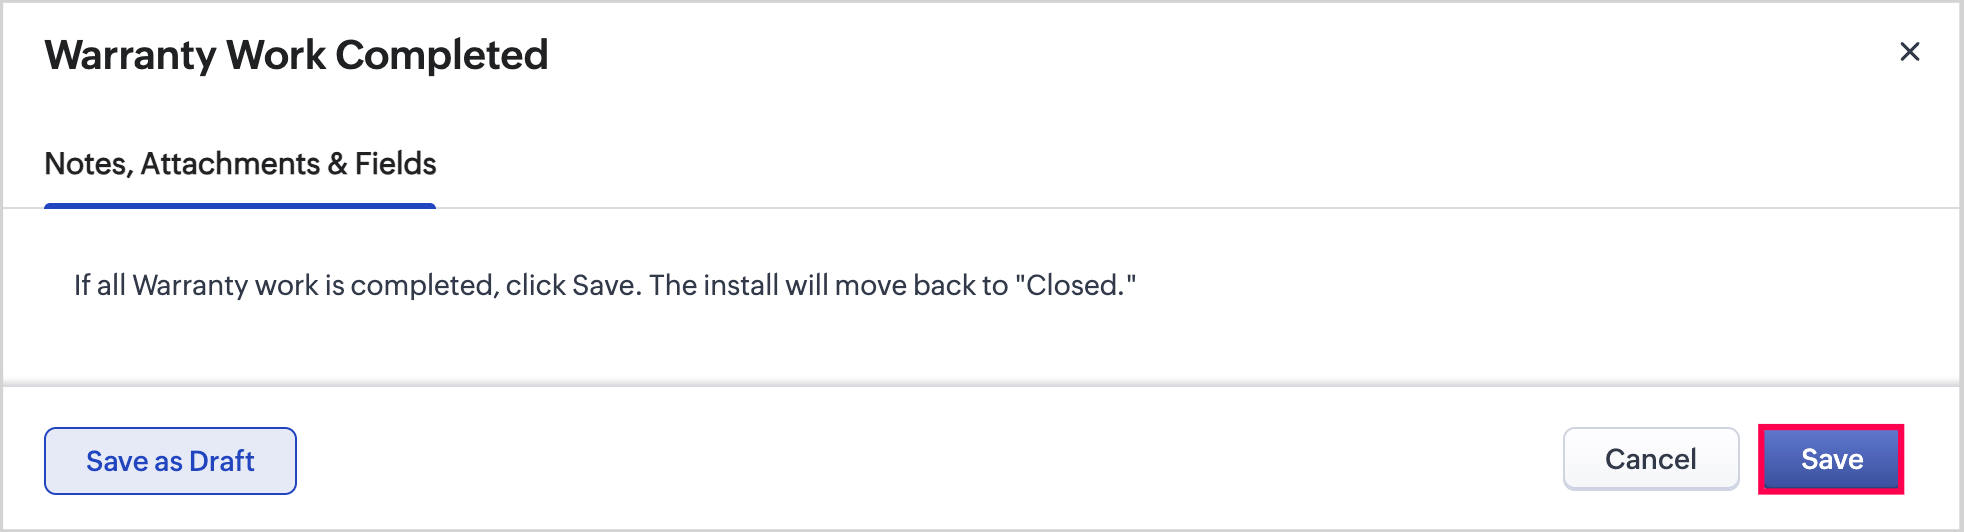
4. Once the Service Request (Warranty Work) has been completed, return to the Install record and click the Warranty Work Completed transition, then click Save. The Install when then move back to Closed.
Update to Revenue Service:
1. Enter any relevant notes, then click Save.
2. A Service Request is then created, and you'll be prompted to choose one of the following options:
- Cancel Request: Cancels the Service Request.
- Skip Rev Service Call – Add Sale: Immediately creates the sale when no on-site visit is needed and the product or service is already known.
- Set Revenue Service: Schedules a Service Call Meeting.
Cancel Request:
1. Enter the reason for cancellation, then click Save.
Skip Rev Service Call - Add Sale:
1. Select the base service fee and desired product, then click Save.
Set Revenue Service:
1. Select the Revenue Service Product, enter the Service Meeting details, and click Save.
2. Click Confirm and Issue.
3. Review the Service Meeting details, and if everything is correct, click Save. After saving, the meeting host will be notified of when and where to meet the homeowner.
Product Order Required:
1. Enter the product to be ordered, add any product order notes, and confirm the Install Name, then click Save.
2. Once the product has been received, click the Product Go-Ahead Received transition button.
3. In the Product Go-Ahead Received pop-up window, click Save.
4. Click the Set Install Service transition.
5. Enter the Service Meeting Details, then click Save.
6. Click Confirm and Issue.
7. Review the Service Meeting details, and if everything is correct, click Save. After saving, the meeting host will be notified of when and where to meet the homeowner.
Related Articles
1Stop Field Definitions
Quickly learn what each field means across all modules in 1Stop. Bonuses Module The Bonuses module in 1Stop tracks customer referrals, automatically recording details and status. It helps businesses monitor referrals, calculate rewards, and ...1Stop General Introduction
Introduction 1Stop is the first all-in-one business operating system designed to meet the unique demands of specialty remodelers. From when a lead first expresses interest in your business through the entire sales and installation process, 1Stop ...Intro for Finance & HR Teams
1Stop helps finance and human resource teams gain valuable insights into their business operations with a comprehensive suite of tools to help them manage and track receipts, payments, costs, and employees more efficiently. Employee Management - ...Overview on Inventory Management Process
Inventory Management: Streamline Operations and Boost Profits Effective inventory management is essential for any business that handles physical products. It ensures you always have the right items on hand, minimizes unnecessary costs, and helps ...Auto-Import Process for Lead Aggregators
1Stop seamlessly imports Leads from any Lead Aggregator. Follow these steps to onboard a new Lead Aggregator: 1. Request Webhook URL: Submit a customer support ticket to 1Stop requesting a Webhook URL for the Lead Aggregator. Please allow 24-48 hours ...